How to Choose the Right Air Fork 24 for Your Bike?
Choosing the right Air Fork 24 can transform a small-wheel bike’s handling, comfort, and control. However, compatibility matters more than appearance. A fork may look impressive in a product photo yet fail to match your frame, wheel, or brake system.
Start by checking the essential measurements. Confirm that the fork supports your bike’s 24-inch wheel size. Measure the steerer tube length and verify its diameter. Check the axle width, axle type, brake mount, and maximum tire clearance. A few millimeters can create serious installation problems. Never rely only on a seller’s title.
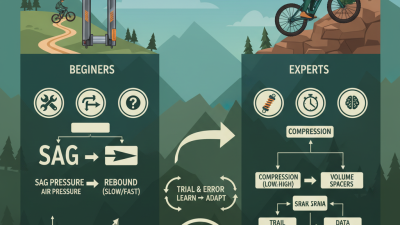
Air pressure is equally important. It should match your body weight, riding style, and fork design. Begin with the manufacturer’s recommended setting, then adjust gradually. A basic shock pump and a sag check can make the difference between a harsh ride and controlled suspension. Rebound adjustment also affects how quickly the fork returns after compression.
Think about your real riding conditions. Smooth paths may need less travel, while rocky trails demand stronger damping and better impact control. More travel is not automatically better. It can alter steering geometry and make the bike feel unstable.
I once assumed a higher specification meant a better upgrade. That was not always true. The wrong fork can raise the front end, change balance, or reduce braking confidence. For dependable results, compare official specifications, inspect the frame manufacturer’s limits, and ask a qualified bicycle technician when measurements remain uncertain. A careful choice may seem slower, but it protects both performance and safety.
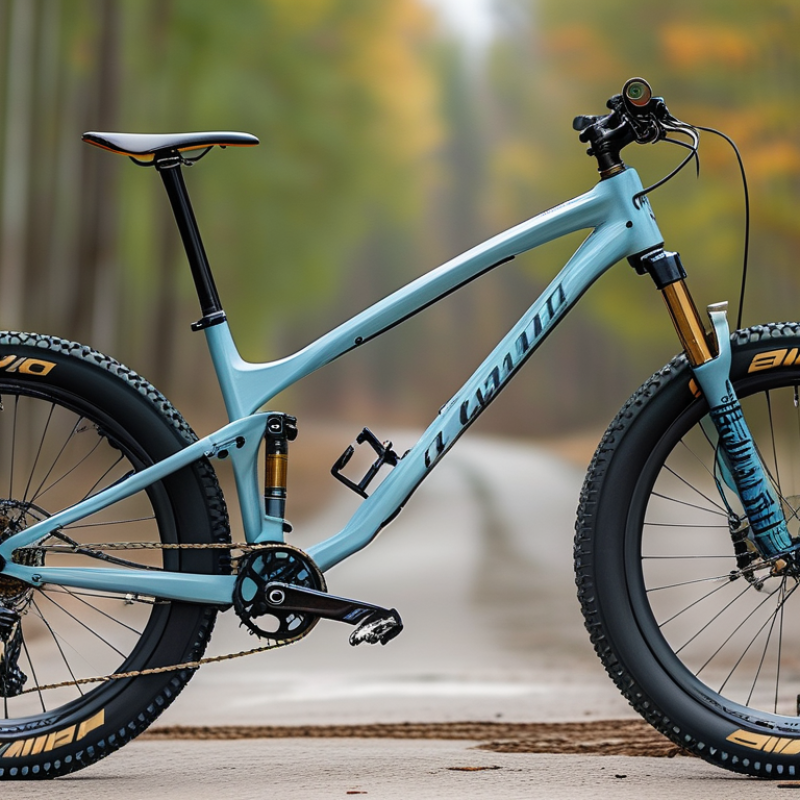
Understanding Air Fork 24 Specifications and Compatibility
How to Choose the Right Air Fork 24 for Your Bike?
Understanding Air Fork 24 Specifications and Compatibility
An Air Fork 24 is designed for bicycles using 24-inch wheels. Wheel size alone does not guarantee compatibility. Check the steerer tube diameter and length before ordering. A straight steerer and a tapered steerer require different frames and headsets. Measure your current fork carefully. Leave enough steerer length for spacers and the stem.
Travel affects handling and comfort. A longer fork can raise the front end and change steering angles. For many youth, commuter, and compact trail bikes, moderate travel keeps the bicycle stable. Axle standards also matter. Confirm the axle diameter, hub width, and axle type. A mismatch may prevent secure wheel installation. It can also create dangerous movement.
Brake compatibility deserves close attention. Match the fork’s brake mount with your existing caliper. Check rotor clearance and the maximum approved rotor size. Air pressure should suit the rider’s weight, not a random online setting. Use the fork’s pressure chart as a starting point. Then adjust sag during a short test ride. I once focused too much on travel and overlooked steerer length. That mistake delayed installation. Recheck every measurement. Small differences matter. Look for rebound adjustment, compression control, and service intervals. These features improve control, but they also require correct setup and maintenance. A qualified bicycle mechanic can verify uncertain measurements before riding.
Comparing Damping Systems, Adjustments, and Rebound Control
Choosing the right Air Fork 24 starts with the damping system, not the color or travel figure. A 24-inch wheel needs controlled movement, especially on roots, curbs, and loose gravel. Open-bath systems feel consistent on long descents. Sealed-cartridge systems usually offer cleaner adjustment and easier maintenance. ISO 4210-2 requires safety-focused testing for bicycle components, but it does not select your ideal damping tune. Fit still matters.
Compression adjustment controls how quickly the fork moves under braking and impacts. Too much compression makes the front wheel skip across wet roots. Too little creates a soft, diving sensation. Rebound control manages the return stroke. Begin near the middle of its range, then adjust one click at a time. A fast rebound can feel lively, but the wheel may bounce after landing. A slow setting can pack down through repeated bumps. I still get this wrong when temperature changes.
Tips: Set sag with your riding gear on. Record air pressure, clicks, and outside temperature. Test one trail section repeatedly. PeopleForBikes’ 2023 Bicycling Participation Report counted 112 million U.S. bicycle riders in 2022, showing how varied real-world riding conditions can be. That variety makes factory settings only a starting point. Check axle spacing, steerer length, travel, and tire clearance before purchase. A heavier rider may need more air pressure, but pressure alone cannot fix poor rebound control.
How to Choose the Right Air Fork 24 for Your Bike? - Comparing Damping Systems, Adjustments, and Rebound Control
| Fork Configuration |
Typical Travel |
Damping System |
Compression Adjustment |
Rebound Control |
Air Spring Adjustment |
Approx. Weight Range |
Best Use |
| Basic Air Fork |
80–100 mm |
Open-bath or basic cartridge |
Usually fixed; lockout may be included |
Fixed or limited external adjustment |
Positive air-pressure tuning |
About 1.8–2.3 kg |
Leisure riding, commuting, and light paths |
| Trail Air Fork |
100–120 mm |
Sealed-cartridge hydraulic damper |
Low-speed compression, often with lockout |
External dial with approximately 8–12 positions |
Positive air pressure; some models add negative-air balancing |
About 1.6–2.0 kg |
Mixed terrain, recreational trail riding, and entry-level sport |
| Performance Trail Fork |
100–130 mm |
Independent sealed hydraulic cartridge |
External low-speed compression; some versions include high-speed support |
Wide-range external adjustment, commonly 10–20 clicks |
Positive and negative air chambers or adjustable air-volume spacer |
About 1.5–1.9 kg |
Technical trails, jumps, and aggressive all-round riding |
| Cross-Country Air Fork |
80–100 mm |
Lightweight sealed cartridge |
Low-speed compression or handlebar-operated lockout |
External rebound dial, usually with a moderate adjustment range |
Positive air pressure and optional volume spacers |
About 1.4–1.8 kg |
Fast climbing, hard-packed trails, and racing-oriented use |
| All-Mountain Air Fork |
120–140 mm |
High-capacity sealed hydraulic cartridge |
Low-speed and high-speed compression adjustment |
Broad external rebound range for varied terrain |
Positive/negative air tuning plus volume-spacer compatibility |
About 1.8–2.2 kg |
Steep descents, rough trails, and demanding all-mountain riding |
Selection Notes:
Travel, axle standard, steerer-tube size, wheel clearance, brake-mount standard, and frame compatibility must be checked before purchase. Air-pressure recommendations should be used as a starting point and adjusted according to rider weight, sag, terrain, and riding style. Typical sag is approximately 15–20% for cross-country use and 20–30% for trail or all-mountain riding.
Checking Installation Requirements, Maintenance, and Budget fit
How to Choose the Right Air Fork 24 for Your Bike?
Choosing an Air Fork 24 starts with installation requirements, not appearance. Confirm the fork fits your 24-inch wheel and frame geometry. Measure the steerer diameter, steerer length, axle spacing, and maximum travel. Check the brake mount carefully. A small mismatch can prevent safe installation. Your wheel must also accept the fork’s axle system. I once overlooked steerer length on a workshop build. The fork fitted physically, but the available adjustment was poor.
Tips: Record every measurement before shopping. Check the frame manufacturer’s travel limit. Confirm tire clearance with the wheel installed. Ask a qualified mechanic when specifications seem unclear.
Maintenance affects both performance and cost. Clean the stanchions after muddy rides, then inspect them for scratches or oil residue. Check air pressure regularly with a suspension pump, because ordinary pumps can damage the valve system. Service intervals depend on riding conditions, but dusty trails require more attention. Lower-leg service is often needed before the fork feels completely worn. Ignoring small leaks usually makes repairs more expensive.
Budget for more than the fork itself. Include installation, compatible axle parts, a brake adapter if approved, tools, and future seals. A cheaper fork may become costly when replacement parts are difficult to source. I prefer leaving some budget for professional setup, although I sometimes underestimate service costs. Suspension settings should match rider weight, riding style, and terrain. Record your pressure and rebound settings, then adjust one change at a time.
How to Choose the Right Air Fork 24 for Your Bike?
Use the maintenance intervals below as a practical planning guide when comparing a 24-inch air fork. Always confirm the exact requirements in the fork and frame specifications before purchase.
Installation and Budget Checklist
- Confirm the fork is designed for a 24-inch wheel and matches the frame’s axle standard.
- Check steerer diameter, steerer length, axle-to-crown length, suspension travel, and brake-mount type.
- Make sure the available travel and axle-to-crown length will not change the bike’s handling or cause tire-to-frame clearance problems.
- Include compatible spacers, axle hardware, brake adapters, fitting labor, and a first-service reserve in the total budget.
- Service intervals vary with riding conditions; muddy, dusty, or wet riding generally requires more frequent cleaning and servicing.