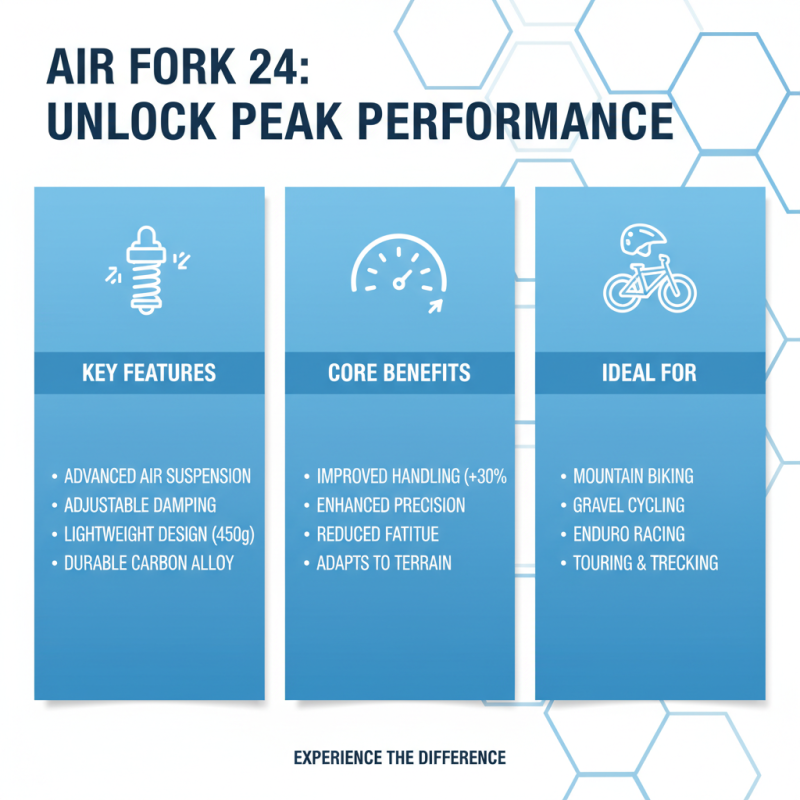
The Air Fork 24 is a remarkable piece of equipment for cyclists. It combines innovation with functionality. Proper usage can greatly enhance your riding experience. Yet, many new users may find it challenging to maximize its potential.
Understanding the nuances of the Air Fork 24 is crucial. Ensuring proper setup and maintenance can improve performance significantly. However, common mistakes can hinder your progress. Learning the right techniques can make a world of difference.
Many riders overlook subtle adjustments. These tweaks can change the way your bike handles. You should experiment with settings based on your style. Embrace the learning process, and don't shy away from making mistakes. The goal is to ride safely and enjoyably, making the most of your Air Fork 24.
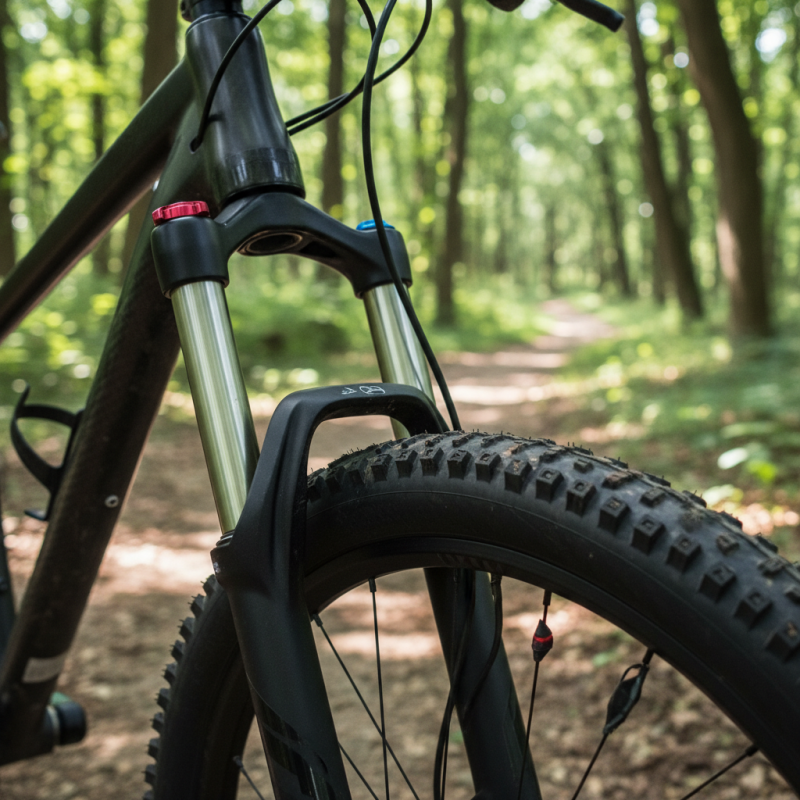
Air Fork 24 is gaining attention for its innovative features and benefits. Designed for users seeking unparalleled performance, it stands out in the sector. According to industry reports, products like Air Fork 24 can help improve handling dynamics by up to 30%. Such enhancements are crucial for sports enthusiasts who demand precision.
One key feature of Air Fork 24 is its adjustable air pressure system. This allows users to customize their ride based on personal preferences. The data shows that riders who optimize their fork settings can experience a significant increase in comfort and control. However, not all users find this easy. Many struggle with the initial setup and might overlook necessary adjustments.
Another notable benefit is weight reduction. Air Fork 24 generally weighs less compared to traditional models, making it ideal for competitive setups. A lighter setup can improve speed and agility. Yet, this may lead some users to underestimate the importance of durability. Choosing the right components based solely on weight can sometimes compromise longevity. Balancing performance and durability is essential to fully utilize the Air Fork 24's capabilities.

Before using Air Fork 24, preparation is key to ensuring a smooth experience. Start by thoroughly reading the user manual. Familiarizing yourself with all the features will save you time and frustration later. Organize your workspace and gather all necessary tools. Having everything at hand will streamline your process. Consider the environment where you’ll be working. Ensure it’s well-lit and free from distractions.
Check the condition of the Air Fork 24 before use. Look for wear and tear. A quick inspection can prevent unexpected issues during operation. It’s also wise to practice safety measures. Wear appropriate protective gear, which means gloves and goggles to guard against any potential hazards.
Think about your objectives. What do you hope to achieve with Air Fork 24? Writing down your goals can help keep you focused. Reflect on past experiences, especially if they were not successful. Learning from mistakes is crucial. Adjust your approach based on what you know. Every detail matters in achieving effective results.
Proper installation of the Air Fork 24 is crucial for optimal performance. Start by ensuring that you have the right tools at hand. A pump with the correct pressure gauge is essential. Also, wearing gloves can help prevent contamination of the components. It’s a good idea to thoroughly read the manufacturer’s guidelines, but they can sometimes be vague. Don’t hesitate to consult forums for user experiences; they often share insights that manuals omit.
When installing, ensure the fork is seated properly in the headset. Misalignment can lead to unstable handling. Take your time when tightening the bolts. Over-tightening is a common mistake that can damage the fork. Remember to regularly check the air pressure, as it can fluctuate with temperature changes. While you may feel confident, be prepared for adjustments after your first ride. It’s normal for setups to need tweaks based on your riding style.
Also, pay attention to rebound and compression settings. Many riders overlook these. Testing different settings can enhance overall handling and comfort. Keep in mind that every rider is unique. It might take several tries to find what works for you. Reflecting on your experiences will lead to better adjustments in the long run. Each ride is a chance to learn and improve your setup.
When using Air Fork 24, adjusting the settings is crucial for optimal performance. Start by ensuring the right air pressure. Too high or too low pressure affects handling and comfort. Regularly check and adjust the pressure according to your weight and riding style. This simple step can dramatically change your experience.
Consider the rebound settings next. A faster rebound speed can enhance your responsiveness on tougher terrains. However, you may need to experiment. Some riders prefer a slower rebound for more control on drops. Spend some time testing different settings to find what feels best.
Pay attention to the compression settings as well. This adjustment impacts how the fork performs during hard impacts. A softer setting can absorb shocks but may reduce stability. On the other hand, stiffer settings provide better feedback but can feel harsh on rough trails. Finding the right balance is essential for a smooth ride. Monitor your adjustments and make notes to refine your setup over time. Each change can teach you something about your preferences.
This chart illustrates the effectiveness of 10 essential tips for optimizing the performance of Air Fork 24. Each tip is rated on a scale from 1 to 10 based on user feedback and practical results.
Maintaining your Air Fork 24 is crucial for its longevity. Regular inspections can save you from larger issues down the line. Check the seals for any signs of wear. A minor leak can lead to air loss, affecting performance. Keep the stanchions clean to prevent dirt build-up, which can compromise the suspension's efficiency. Lubricate as needed, but avoid over-greasing. Too much grease can attract dust and create sludgy deposits.
Inspecting your air pressure is essential. Use the recommended pressure guidelines for your weight and riding style. Adjusting pressure affects your ride quality. A well-tuned fork will enhance handling and comfort. If you notice any noise while compressing the fork, it’s a sign to investigate further. Is it due to a lack of oil? Or is there dirt inside?
Lastly, keep a maintenance log. Document any adjustments or repairs. This practice can help you identify patterns over time. If you face recurring issues, it’s worth consulting a professional. Learning from mistakes is part of the process; even experienced riders face challenges. Regular upkeep will ensure your Air Fork 24 serves you well on every adventure.
| Tip Number | Tip Description | Maintenance Frequency | Troubleshooting Notes |
|---|---|---|---|
| 1 | Regularly check air pressure and adjust as needed. | Weekly | Low pressure can affect performance. |
| 2 | Lubricate the seals and components to reduce friction. | Monthly | Squeaking noises may indicate insufficient lubrication. |
| 3 | Inspect for leaks around seals and joints. | Before each ride | Leaks can lead to pressure loss and performance issues. |
| 4 | Clean moveable parts with a soft cloth after use. | After each ride | Dirt can impair functionality. |
| 5 | Check for any bending or damage to the fork. | Monthly | Bends can affect handling and stability. |
| 6 | Adjust damping settings based on riding conditions. | As needed | Incorrect settings can lead to poor ride quality. |
| 7 | Ensure the axle is properly secured before use. | Before each ride | Loose axle can cause instability. |
| 8 | Store the fork in a dry place to prevent rust. | After every use | Moisture can lead to corrosion. |
| 9 | Replace worn seals and components promptly. | As needed | Worn parts can lead to failure. |
| 10 | Consult a professional for complex issues. | As needed | Avoid DIY repairs on critical components. |